
The first step in turning a closet into a mudroom is to completely clear it out—doors, shelves, and all. From there, you'll design a layout that actually works for your life, complete with seating and smart storage, before installing the key pieces like a bench, hooks, and cubbies. It's a high-impact DIY project that takes a chaotic space and transforms it into an organized hub that makes your daily routine smoother.
From Cramped Closet to Calm Entryway
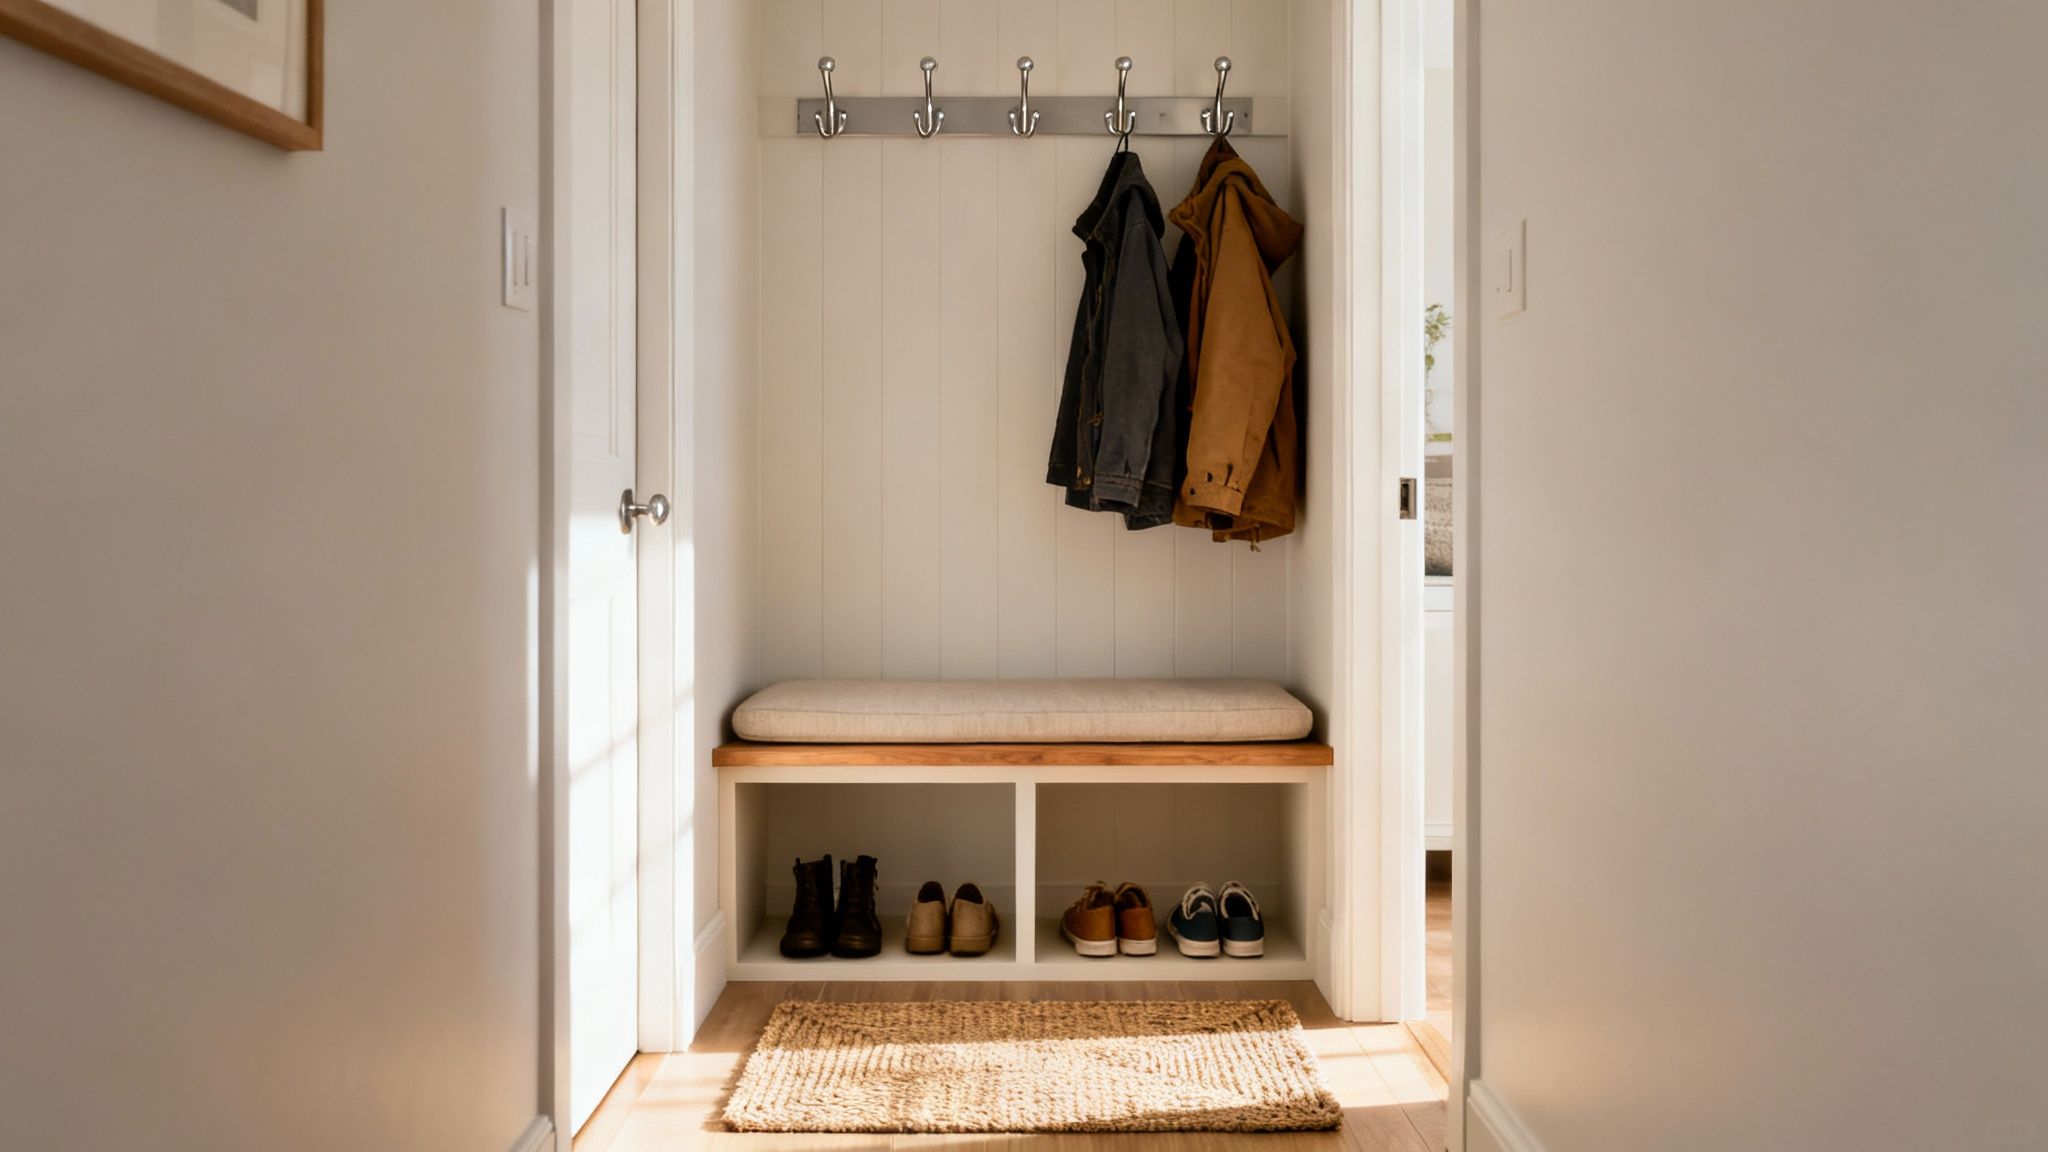
That small, overflowing closet near your door has some serious untapped potential. Most of us see it as a black hole for shoes, rogue jackets, and who-knows-what-else. But converting it into a functional mudroom is one of the most satisfying and impactful home projects you can tackle.
This isn't just about managing clutter; it's about creating a system that streamlines your daily comings and goings. The goal isn’t a picture-perfect space that’s afraid of a little dirt, but a practical, hardworking hub built for real life. It gives everything a designated spot, making mornings less frantic and keeping the day's mess from creeping into the rest of the house.
Mapping Your Family’s Flow
The real secret to a mudroom that works? It starts with understanding how your family actually uses the entryway. Before you even touch a hammer, spend a day or two just observing. Where do the backpacks get dropped? Where does everyone instinctively kick off their shoes?
I always tell my clients that the best layouts come from analyzing household traffic patterns. Mapping how your family moves and what their daily habits are is the key to creating a solution that you’ll actually use.
This observation phase is everything. You're not just designing a space; you're solving a problem. Pay attention to how the door swings, where coats land, and how the kids handle their school gear. This upfront thinking ensures your new mudroom addresses your family's specific needs instead of just looking nice. For more expert advice on this planning stage, the folks at Closet America have some fantastic insights.
By planning around these habits, you end up with a layout that works with your family, not against them. Just as thoughtful planning is critical for entryways, exploring various living room ideas can inspire functional design throughout your home. A truly organized home comes together one strategic project at a time.
Designing Your Mudroom Conversion
A great mudroom conversion doesn't just happen—it’s born from a solid plan. Before you even think about swinging a hammer, you need to map out a design that transforms your family’s daily chaos into a calm, organized system. This is where you get to be strategic, thinking beyond just shelves and hooks to create a layout that squeezes every last drop of function out of the space.
Your first move? Get out the tape measure. And I don't just mean a quick width and depth check. You need to be meticulous. Note the exact height, the location of the door frame, and any light switches or outlets that could get in the way. These little details are what separate a custom-fit built-in from a clunky, ill-fitting one.
Thinking in Functional Zones
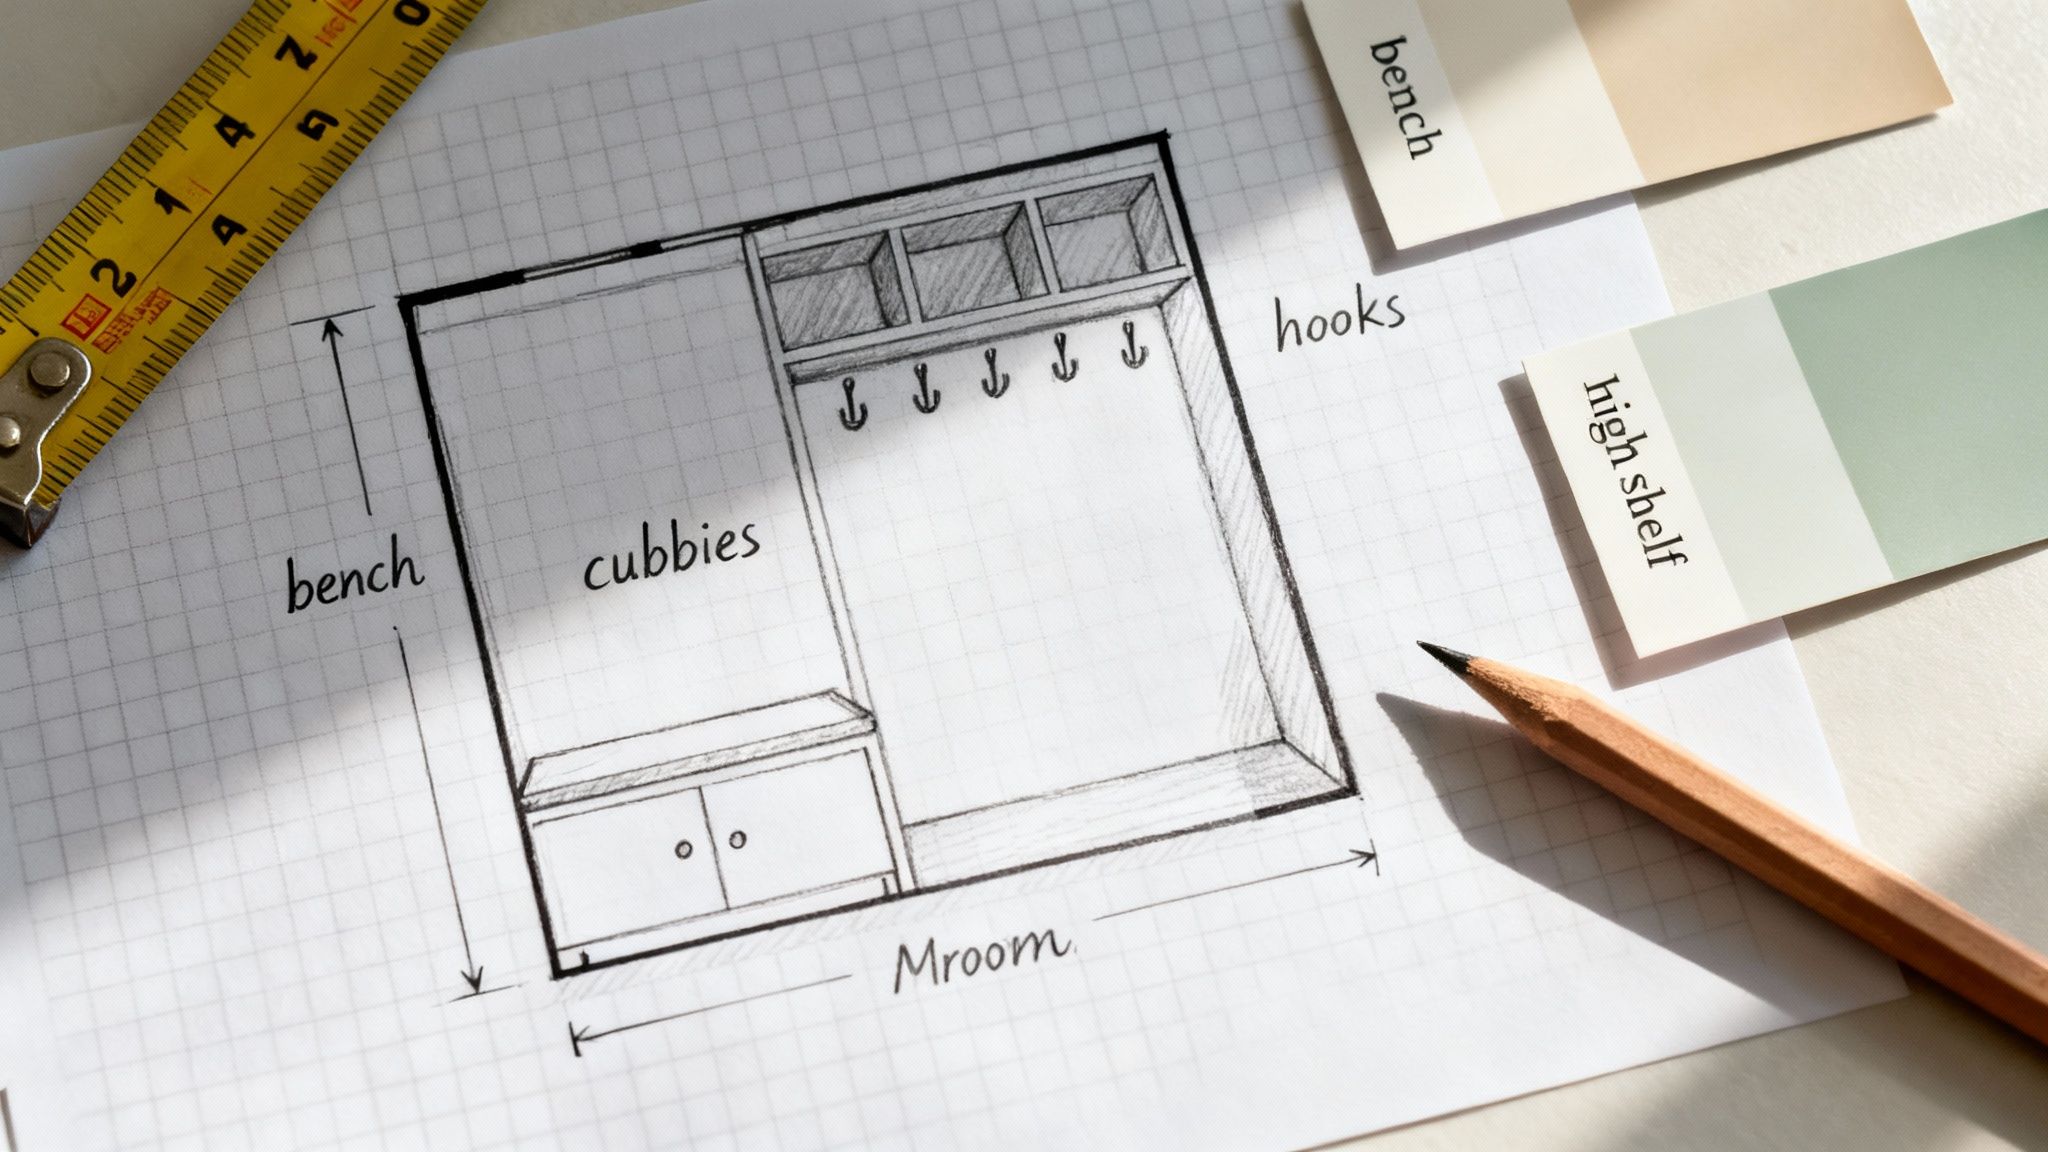
With your measurements in hand, it's time to think like a designer and divide the closet into functional zones. This is the real secret to creating a space that works intuitively and stops the clutter before it even starts. The goal is to give every single item a logical home, right where you need it.
Don't worry, you don’t need fancy software for this. A simple sketch on a piece of graph paper is your best friend. Draw the closet's basic shape and start mapping out where everything will live. It’s all about visualizing the flow.
- Seating Zone: Honestly, a bench is pretty much essential. It's the designated spot for putting on shoes, and the space underneath is gold for either pull-out drawers or simple shoe cubbies.
- Daily Drop Zone: This is for the stuff you grab on your way out the door. Think hooks at different heights for coats, backpacks, and bags. Putting some hooks down low is a game-changer for getting kids to hang up their own gear.
- Shoe Storage: Are you an "out of sight, out of mind" person or do you prefer to see everything at a glance? This will determine if you go for hidden drawers—which are great for bulky boots—or open cubbies for quick access.
- High-Level Storage: That vertical space above the hooks is perfect for baskets. Fill them with out-of-season items like hats, scarves, and gloves. They’re still easy to get to, but they aren't cluttering up your daily-use areas.
Bringing your vision to life can be tough. If you're struggling to picture the final result, many people are now using AI tools for interior design ideas. These platforms can take a rough sketch and generate a realistic render, giving you the confidence to move forward.
Planning for Practical Details
It's so easy to get wrapped up in the big pieces like benches and lockers, but it's the small, practical details that really make a mudroom work. I’ve seen it time and time again—overlooking these little things is a classic mistake that leads to big frustrations down the road.
A great mudroom design anticipates your needs. Ask yourself: where will you charge your phone? Where will wet mittens dry? Answering these questions now prevents functional gaps in your finished space.
Before you call the plan "final," run through this checklist of often-forgotten details.
- Lighting: Let's face it, most closets are poorly lit. You'll want to plan for a new overhead light or maybe even some LED strip lighting under shelves. No more fumbling in the dark for a matching pair of gloves.
- Electrical Outlets: Check for nearby outlets. Could you build in a small charging station? A popular and clean-looking solution is to add outlets inside the locker cubbies to hide the cord clutter.
- Ventilation: If you'll be storing damp coats or muddy boots, you have to think about airflow. A design with open cubbies or even vented cabinet doors can make a huge difference in helping things dry out and preventing that musty smell.
Thinking through these practicalities is the final check on your blueprint. It’s what ensures your project to turn a closet into a mudroom creates a space that isn't just beautiful, but a true workhorse for your home.
Picking the Right Materials and Storage
Now we get to the fun part: choosing the materials that will bring your mudroom to life. This is where you define not just the look but, more importantly, the durability of the space. Every choice you make, from the wood for the bench to the paint on the walls, has to be ready for the daily onslaught of dirty boots, wet jackets, and heavy school bags.
Think of it as a constant negotiation between your budget, how tough you need the materials to be, and how easy they are to work with. For example, a solid wood bench is a beautiful, long-lasting option you can refinish down the road. But a well-built bench from high-quality plywood can deliver 90% of the function at a much friendlier price point and is often easier for a DIYer to handle.
The Bones of Your Mudroom: Core Structural Materials
The bench and any built-in lockers or cubbies form the backbone of your new space. This is your most critical material decision, so it’s worth spending some time here.
Solid Wood (Pine, Poplar): This is my top recommendation for the bench top or any other high-impact surface. Solid wood is incredibly strong, holds screws tightly, and gives you the flexibility to paint or stain it for a truly custom finish. If you can stretch the budget for it, you won't regret it.
Cabinet-Grade Plywood: Don't sleep on good plywood. It's a fantastic, stable material that’s less likely to warp than solid wood, making it perfect for the main "carcass" of your built-ins—the vertical dividers and shelves. It’s a smart way to save money without sacrificing strength.
MDF (Medium-Density Fiberboard): MDF is cheap and gives you a flawless surface for painting, which is tempting. But it's heavy, and more importantly, it absolutely hates water. I’d steer clear of it for any surface that might get wet, which in a mudroom, is pretty much everywhere.
My rule of thumb from countless projects? Spend the money on solid wood for the surfaces that take a beating, especially the bench. For everything else—the vertical dividers, the upper shelves—a quality plywood finished with tough paint will do the job perfectly and keep your budget in check.
Walls and Floors That Can Handle the Mess
The walls and floor in your new mudroom will see more action than you might expect. You need surfaces that can be wiped down easily and stand up to scuffs, scrapes, and moisture.
For the walls, don't even consider a flat or eggshell paint. You need a semi-gloss or satin finish. They are far more scrubbable, so you can easily wipe away mud splatters without ruining your paint job. And always, always start with a good primer; it's the key to a durable, long-lasting finish.
When it comes to the floor, here are a few workhorse options:
- Luxury Vinyl Tile (LVT): This is probably the best all-around choice for a DIY project. LVT is waterproof, tough as nails, and surprisingly easy to install over most existing floors.
- Porcelain Tile: If you want the absolute pinnacle of durability, porcelain tile is your answer. It's completely waterproof and nearly impossible to damage. The trade-off is that installation is more involved and requires a bit more skill.
- Durable Floor Paint: Have a smooth concrete or wood subfloor in that closet? A good porch and floor paint can be a fantastic, budget-friendly solution that holds up surprisingly well.
Before you make a final decision, it's a good idea to lay out your options.
Material and Component Comparison for Your Mudroom
This table breaks down some of the most common choices for mudroom components. I've evaluated them based on what matters most for a project like this: cost, durability, and how easy they are to work with if you're tackling this yourself.
| Component | Material Option | Average Cost | Durability | DIY Friendliness |
|---|---|---|---|---|
| Bench Top | Solid Pine Wood | $$ | High | Moderate |
| Cabinet-Grade Plywood | $ | Medium-High | High | |
| Pre-made Bench | $$$ | High | Very High | |
| Shelving/Dividers | Cabinet-Grade Plywood | $ | High | High |
| MDF | $ | Low (if wet) | Moderate | |
| Solid Poplar Wood | $$ | Very High | Moderate | |
| Flooring | Luxury Vinyl Tile (LVT) | $$ | Very High | High |
| Porcelain Tile | $$$ | Extreme | Low-Moderate | |
| Porch & Floor Paint | $ | Medium | Very High | |
| Wall Finish | Semi-Gloss Paint | $ | High | Very High |
| Beadboard Paneling | $$ | Very High | High |
Ultimately, the best choice is a blend of these factors. Plywood for the structure and LVT for the floor is a classic, cost-effective combo that will last for years.
The Finishing Touches: Hardware and Details
Finally, the hardware—the hooks, handles, and pulls. Think of this as the jewelry for your mudroom. It's a small detail that has a massive impact on both the final look and day-to-day function.
My advice? Go for solid metal hardware that feels heavy in your hand. Those cheap, hollow hooks from big-box stores might look fine, but they’ll bend or break the first time someone hangs a heavy backpack on them.
This is also your chance to connect the new space with the rest of your home. Choosing hardware that matches the finishes in your kitchen or bathrooms can make the mudroom feel like a planned, integral part of the house. If you're going for a clean, cohesive style, you can pull inspiration from these minimalist living room ideas, which often showcase how simple, high-quality hardware can define a space.
Building Your Closet Mudroom
Alright, your design is locked in and you’ve got your materials. Now for the fun part: bringing it all to life. This is where the careful planning pays off and you start turning that empty closet into a hardworking, great-looking mudroom. We'll go through the whole process, from swinging the sledgehammer (gently!) to adding those final, professional-looking details.
The first real step is often the most satisfying—clearing the way. You’ll need to carefully remove the old closet doors, hinges, and any existing shelves or hanging rods. The goal is to get down to a clean, empty box, a blank canvas ready for its new life.
Prepping Your Space for a Flawless Finish
Once everything is out, you’ll probably be staring at a few dings and holes. Don’t be tempted to skip the prep work. This is the foundation for a high-quality finish, and it makes all the difference between a project that looks "DIY" and one that looks custom-built.
- Patching Holes: Grab some spackle or wood filler and a putty knife. Fill any screw holes or dents, overfilling just a bit since it tends to shrink as it dries. Let it cure completely.
- Sanding Smooth: Once dry, sand down the patched areas until they’re perfectly flush with the wall. A smooth surface is non-negotiable if you want a clean paint job.
- Priming Everything: A coat of good-quality primer is your best friend. It seals the patches, covers any old stains, and helps your final paint color look rich and adhere properly.
This is one of those classic "measure twice, cut once" moments in a project. A little extra time spent on prep will save you a ton of frustration later and give you a result you’re genuinely proud of.
The Main Buildout and Installation
With your space prepped and primed, the real construction can begin. Whether you’re working with a pre-made unit or building from scratch, the core principles are the same: make it level and make it secure. I always recommend starting with the biggest piece, which is usually the bench.
Get the bench into position and pull out your level. You need it to be level both front-to-back and side-to-side. Floors are rarely perfect, so use shims to make up for any slope. Once you’ve got it just right, secure the bench directly into the wall studs with long screws. This isn't just a suggestion; it’s a critical step for safety and long-term stability.
This flowchart maps out the key decisions you'll make as you bring your closet mudroom to life, from the core structure to the surfaces and hardware.
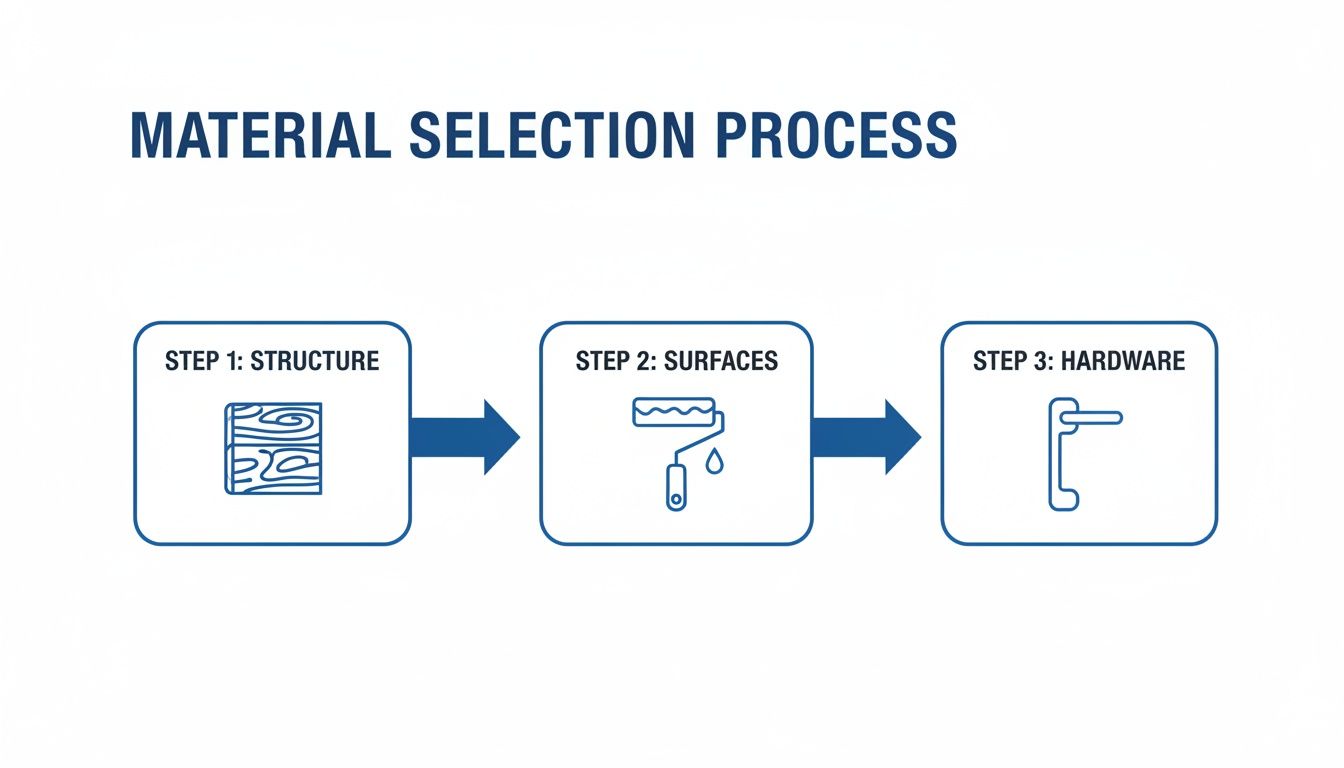
As you can see, each choice builds on the last, leading to a design that’s both durable and cohesive. After the bench is in, you can move on to the vertical dividers for your cubbies and any upper shelving. Just like the bench, make sure you’re anchoring everything securely into wall studs.
A pro tip I’ve learned over the years: When placing hooks, install two rows. Put a lower row around 36-40 inches from the floor for kids, and a higher one at 60-65 inches for adults. It’s a small detail that makes the space infinitely more useful for the whole family.
Achieving a Professional Finish
The final details are what really elevate a project. This is where you go from a functional build to a professional installation. Cutting and adding trim, like baseboards or crown molding, is what will give your mudroom that truly built-in look. A miter saw will be your best friend here for getting those clean, tight corners.
Once the trim is up, fill every nail hole and run a bead of caulk along all the seams—where the trim meets the wall and where the built-in components connect. It’s a simple step that creates perfectly clean lines. Finally, lay down two coats of a durable semi-gloss or satin paint. You want a washable surface that can handle the daily chaos of a busy entryway.
If you’re having a hard time picturing how a certain paint color or finish will look in the space, you can play around with a free AI interior design tool to test out a few options before you start painting.
This kind of project taps directly into the growing focus on smart storage and home organization. In fact, the U.S. home organizers market was valued at USD 12.05 billion and is projected to keep growing as more homeowners invest in making their spaces work harder for them. You can read more about this market growth in home organization from Mordor Intelligence. Your new mudroom isn't just a closet conversion; it's a perfect example of this practical home improvement movement in action.
Budgeting Your DIY Mudroom Project
Let's talk about the money. Knowing your numbers is the single most important thing you can do to ensure your project goes smoothly and doesn't become a source of stress. When you decide to turn a closet into a mudroom, mapping out the costs upfront is what separates a successful renovation from a frustrating one. The great news is, this is a project with a huge amount of flexibility, so you can create an incredible space whether you're working with a shoestring budget or have more to invest.
For example, a simple and resourceful build using reclaimed wood and some sturdy hooks from the hardware store might only run you a few hundred dollars. On the flip side, if you're envisioning a more polished, custom-looking space with built-in cabinetry and durable new flooring, you'll naturally be looking at a higher price tag.
Where Does the Money Go?
Your budget is going to be split across a few core areas. Everyone will need lumber, paint, and hardware, but the final tally can swing wildly depending on the specific materials you choose.
- Structural Materials: This is the wood for your bench and any shelving. Plywood is the go-to for keeping costs down, but if you want something that will stand up to years of abuse, solid wood like pine or poplar is worth the extra expense.
- Finishing Supplies: Don't skimp here. A high-quality primer and a durable, scrubbable paint are your best friends in a high-traffic area like a mudroom. You'll also need to factor in things like wood filler, caulk, and sandpaper.
- Storage and Hardware: Off-the-shelf cubby units are a fantastic time-saver, but they often cost more than building from scratch. And don't forget the details! Hooks, drawer pulls, and hinges seem small, but they can add up quickly.
Expert Tip: I've seen it happen countless times—people meticulously budget for the big items but forget about "the little things." Those extra screws, a new saw blade, or another tube of caulk can easily tack on an extra 10-15% to your total. Always, always build a contingency fund into your budget.
Getting a Handle on Average Costs
While your project will have its own unique costs, it helps to look at industry averages to get a realistic baseline. Fortunately, a closet conversion is one of the most affordable ways to add a dedicated mudroom to your home.
As a general rule, you can expect costs for this type of conversion to fall somewhere between USD 50 and USD 100 per square foot. For a typical closet project, that puts the total investment in the ballpark of USD 1,800 to USD 6,400, all depending on how elaborate you get with the design and materials. For a deeper dive, you can explore more detailed cost estimates for mudroom projects from Angi to see how different factors affect the price.
Here's a table to help you visualize where the costs might fall depending on your approach.
Estimated Budget Breakdown for a Closet Mudroom Conversion
This table provides estimated cost ranges for common materials and labor needed for a standard closet-to-mudroom project.
| Item/Service | Low-End DIY Cost | Mid-Range Cost | High-End Custom Cost |
|---|---|---|---|
| Lumber & Plywood | $100 - $250 | $250 - $500 | $500 - $1,200+ |
| Flooring (Tile/LVT) | $150 - $300 | $300 - $700 | $700 - $1,500+ |
| Paint & Primer | $50 - $100 | $100 - $200 | $200 - $350 |
| Hardware & Hooks | $50 - $120 | $120 - $300 | $300 - $800+ |
| Lighting | $40 - $80 | $80 - $250 | $250 - $600+ |
| Pre-made Bins/Baskets | $60 - $150 | $150 - $400 | $400 - $1,000+ |
| Total Estimated Cost | $450 - $1,000 | $1,000 - $2,350 | $2,350 - $6,450+ |
Note: These are material estimates and do not include the cost of new tools or professional labor, which would significantly increase the total.
Finally, be ready for potential hidden costs. You might pull up the old closet floor only to find it needs patching. You may also realize you need to rent a specific tool, like a miter saw, to get those clean, professional-looking cuts.
If you want to be sure your design is worth the investment before you buy a single 2x4, it's a good idea to visualize the final product first. Exploring the different RoomStudioAI pricing plans can help you bring your ideas to life and confirm you'll love the result.
A Few Common Questions About Closet Mudrooms
Even a project that seems simple on the surface can spark a lot of questions. When you're fundamentally changing how a part of your home functions, like turning a closet into a mudroom, you want to get it right. Let's tackle some of the most frequent questions I hear from homeowners.
Should I Take the Closet Door Off?
In almost every single case, the answer is a firm yes. Ditching the door is probably the most crucial move you'll make to turn a cramped, dark box into a genuinely open and inviting nook. This one change instantly makes the space feel like part of the room, not a forgotten storage area.
Think about it from a practical standpoint. If your closet is tucked into a tight hallway, a swinging door is just a constant bottleneck. The whole point here is to make your daily hustle smoother, and a door usually just gets in the way.
What’s the Best Flooring for Such a Small Space?
You need something that can take a beating. Don't underestimate the abuse this small patch of floor will endure—it's the frontline for tracked-in water, mud, and whatever else is on the bottom of your shoes. Your top priorities have to be durability and water resistance.
Here are my top recommendations:
- Luxury Vinyl Tile (LVT): This is my go-to for most projects. LVT is completely waterproof, stands up incredibly well to scratches and dings, and is a breeze to install yourself.
- Porcelain Tile: If you want something truly bomb-proof, porcelain is the winner. It's impervious to water and nearly impossible to damage. The trade-off is that installation is a bit more involved and requires some skill.
- High-Quality Floor Paint: Working with a tight budget? A good porch and floor paint is a fantastic option. When you prep the surface correctly, it creates a surprisingly tough, easy-to-clean finish that holds up well.
How Much Value Does a Mudroom Really Add?
You won't see "closet mudroom" as a separate line item on a formal home appraisal, but don't let that fool you. The value it adds is real, tangible, and focused on lifestyle and marketability. For potential buyers—especially families—solving a major organizational headache right at the entryway is a huge selling point.
By taking an underused closet and giving it a clear, practical purpose, you're adding a feature that buyers actively look for without having to sacrifice any real square footage. It just makes your home smarter and more appealing.
At the end of the day, you're creating a home that works better and feels more organized. That's the kind of practical, thoughtful upgrade that truly resonates with people, making it a brilliant investment in your day-to-day life and a smart move for the future.
Ready to visualize your perfect mudroom before you start the build? RoomStudioAI can transform your ideas and sketches into photorealistic designs in seconds. Explore what's possible with RoomStudioAI today!
Ready to redesign your space?
Try our AI interior design tool and see your room transformed in seconds.
Try Free Design

